The Vehicle Wrap Installation Process, Step by Step
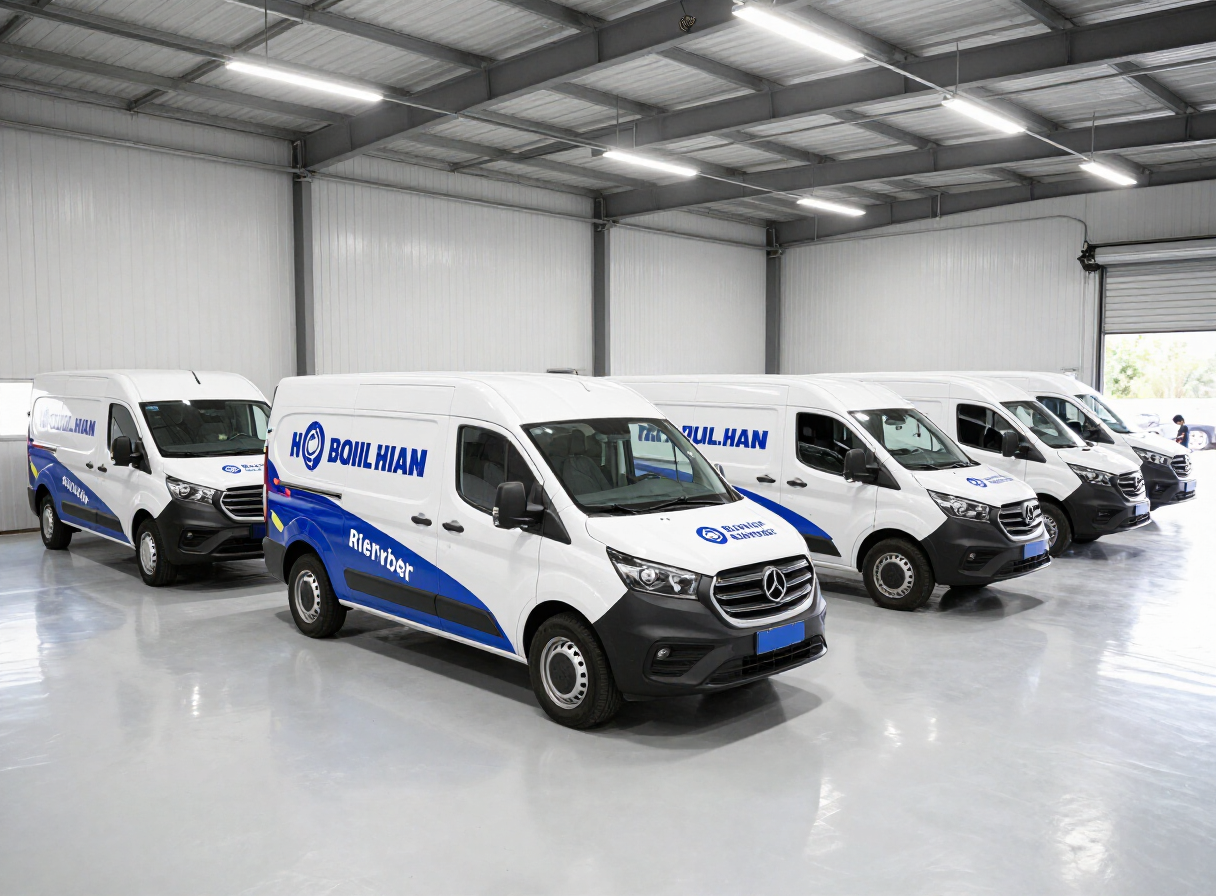
A quality wrap installation is part art, part science, and it starts long before any vinyl touches the vehicle.
Step one is the consultation and design phase, where we discuss your goals, take precise measurements or pull vehicle templates, and develop a design proof for approval — often with multiple rounds of revisions.
Step two is surface preparation. The vehicle is thoroughly washed, decontaminated, and clayed to remove any embedded dirt or wax. Any imperfections in the paint are noted, since vinyl will show through minor surface flaws.
Step three is printing and lamination for custom graphics, where the approved design is printed on premium cast vinyl and laminated for UV and scratch protection before being cut into panel-specific sections.
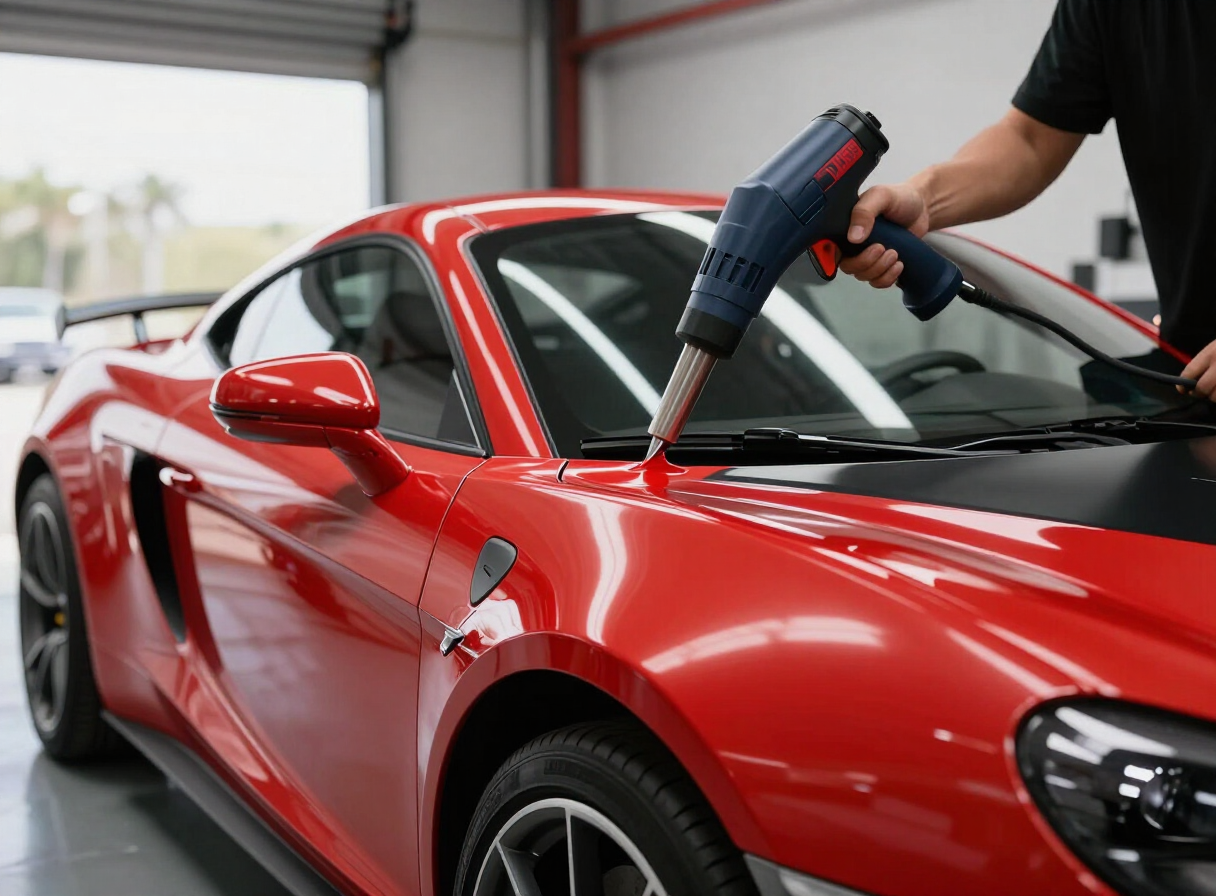
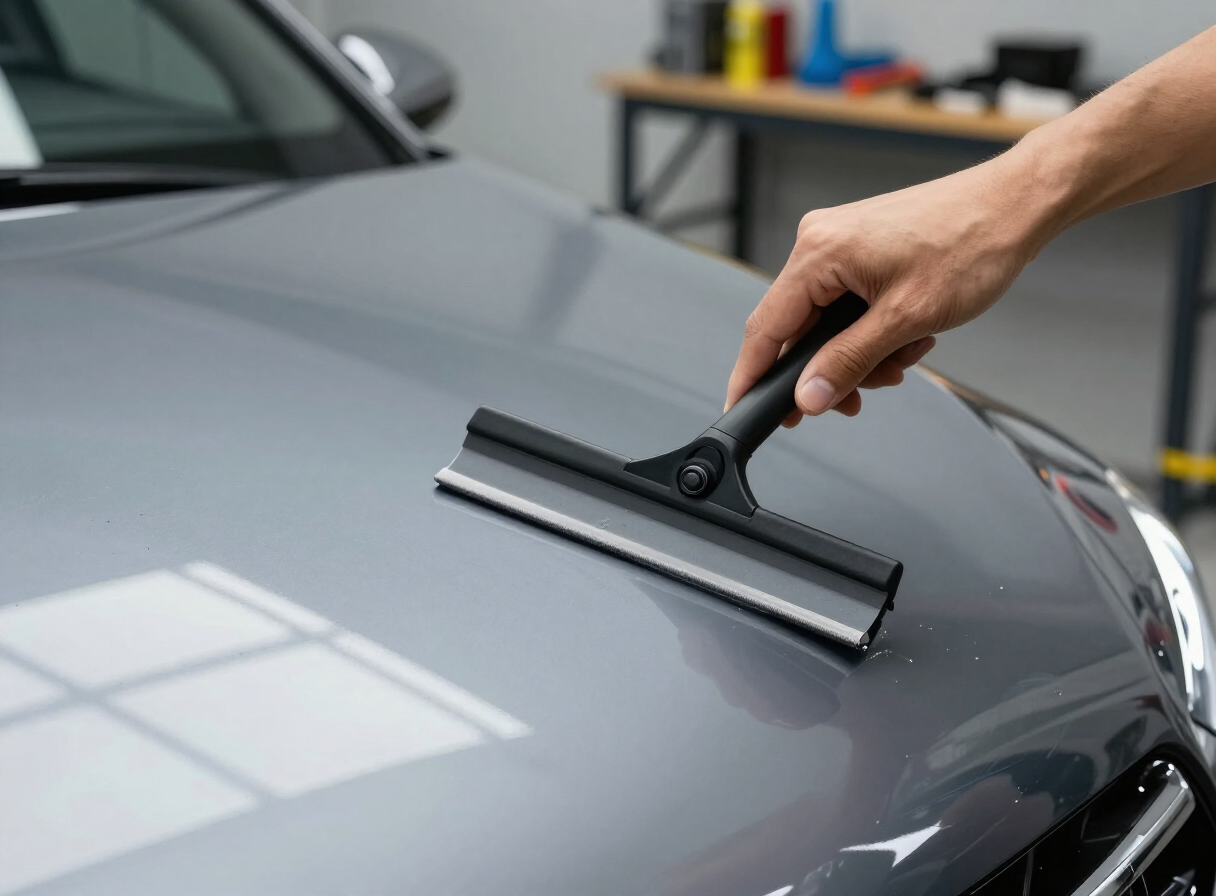
Step four is the install itself. Panels are carefully applied using squeegees and heat guns to conform the vinyl around mirrors, handles, and body contours, with careful attention paid to eliminating air bubbles and achieving clean, tucked edges.
Step five is post-heat treatment, where installers use heat to help the adhesive fully bond and to lock in the vinyl's shape around complex curves, reducing the chance of lifting later on.
Finally, a full quality inspection checks every seam, edge, and panel transition before the vehicle is handed back — typically 2 to 5 days after drop-off depending on the size and complexity of the job.
Ready to transform your vehicle? See real Wrap Hub Orlando installations in our wrap portfolio or request a free custom quote today.